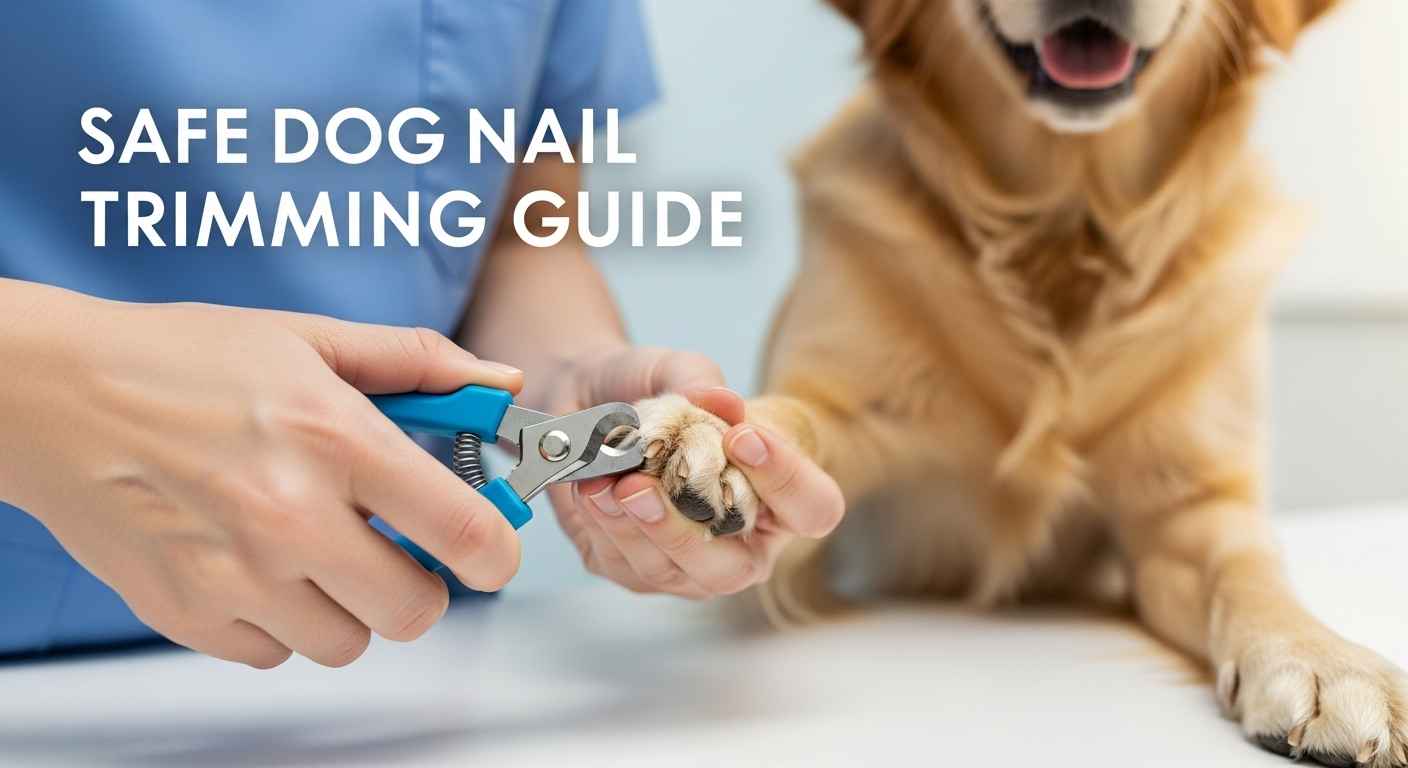
Cutting your dog’s nails can feel scary, but it’s a necessary part of pet care. Most dogs need to have their nails trimmed approximately once monthly, and learning to do it safely at home saves money while keeping your dog comfortable.
Regular nail trimming prevents painful overgrowth, reduces scratching damage to furniture and floors, and helps your dog walk properly. This guide covers everything you need to know about trimming dog nails safely.
Why Dog Nail Trimming Matters
Long nails cause several problems for dogs:
- Pain when walking on hard surfaces
- Risk of nails catching and tearing
- Damage to furniture and flooring
- Poor posture and joint stress
- Increased chance of ingrown nails
Dogs that are frequently walked on pavement or concrete may be able to go a bit longer between nail trims, because walking on a hard, rough surface can help file the nail. However, most indoor dogs need regular trimming.
Essential Tools for Dog Nail Trimming
Before you start, gather these supplies:
Nail Clippers
- Guillotine clippers: Best for small to medium dogs
- Scissor-type clippers: Good for all sizes, easier control
- Grinder tools: Gradual trimming, less risk of cutting too much
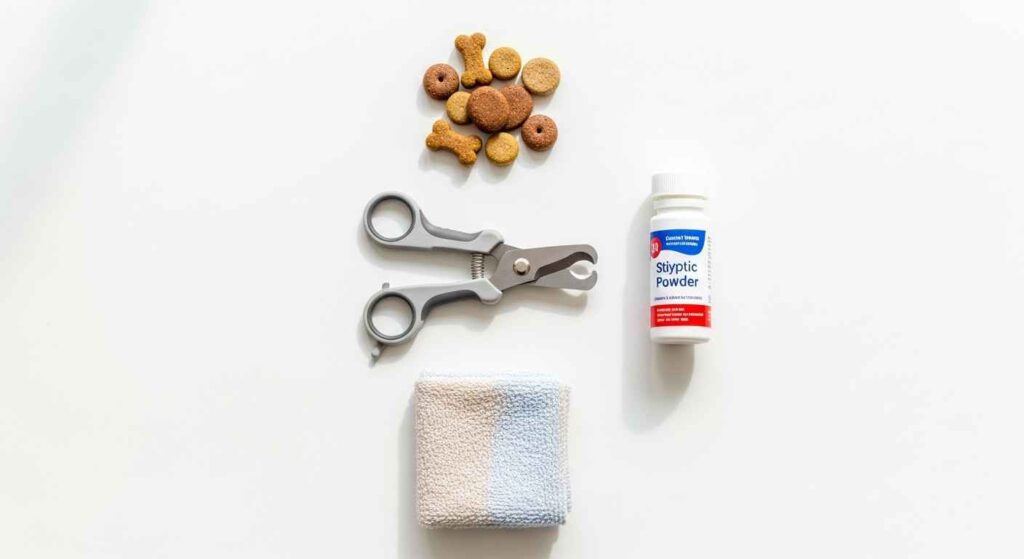
Safety Supplies
- Styptic powder (stops bleeding if you cut too much)
- Cornstarch (alternative to styptic powder)
- Clean towels
- High-value treats for rewards
Comfort Items
- Non-slip mat for your dog to stand on
- Good lighting or flashlight
- Helper (optional) to hold your dog
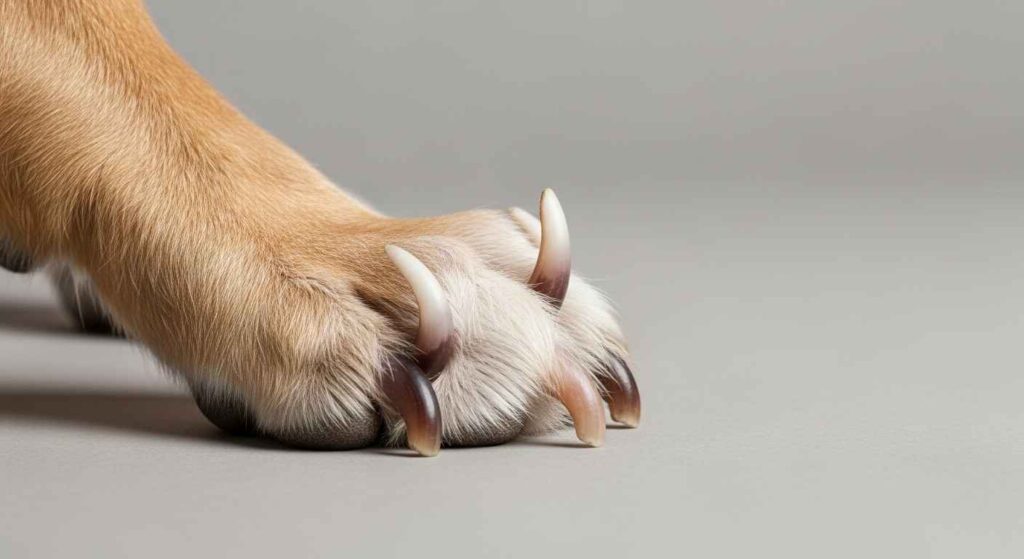
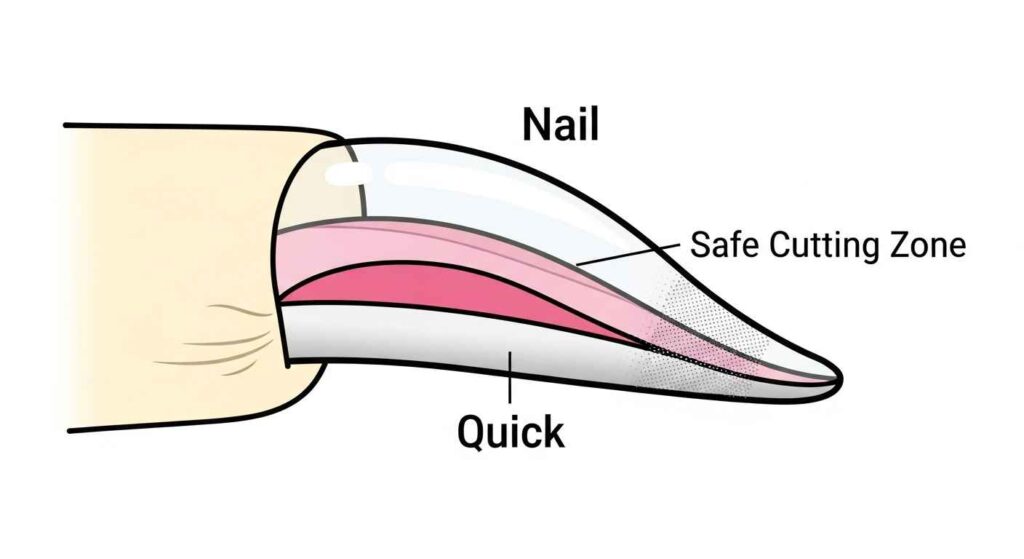
Understanding Dog Nail Anatomy
The key to safe nail trimming is understanding nail structure:
The Quick
The quick is the pink area inside the nail that contains blood vessels and nerves. If your dog has clear or white nails, you can see the pink of the “quick” through the nail. Never cut into the quick as it causes pain and bleeding.
Black Nails vs. Light Nails
In dogs with black nails, the quick is not as obvious, so you’ll want to go slower. Trim a little at a time and look for a black dot in the center of the nail. When you’re getting near the quick, the inside of the nail will look chalky and white. Stop when you see a black dot in the middle of the white area.
Step-by-Step Guide to Cutting Dog Nails
Step 1: Prepare Your Dog
Start training your dog to accept nail trimming before you actually cut:
Let your dog sniff the clipper or grinder you plan to use. Give them a treat and praise them afterward. Gently touch each of their paws with the clipper or grinder (without turning it on). Once again, reward them with a treat and praise.
Step 2: Position Your Dog
- Small dogs: Place on a table with non-slip mat
- Large dogs: Have them lie on their side on the floor
- Use treats and calm voice throughout the process
Step 3: Hold the Paw Correctly
Pick up a paw and firmly, but gently, place your thumb on the pad of a toe and your forefinger on the top of the toe on the skin above the nail. Make sure none of your dog’s fur is in the way.
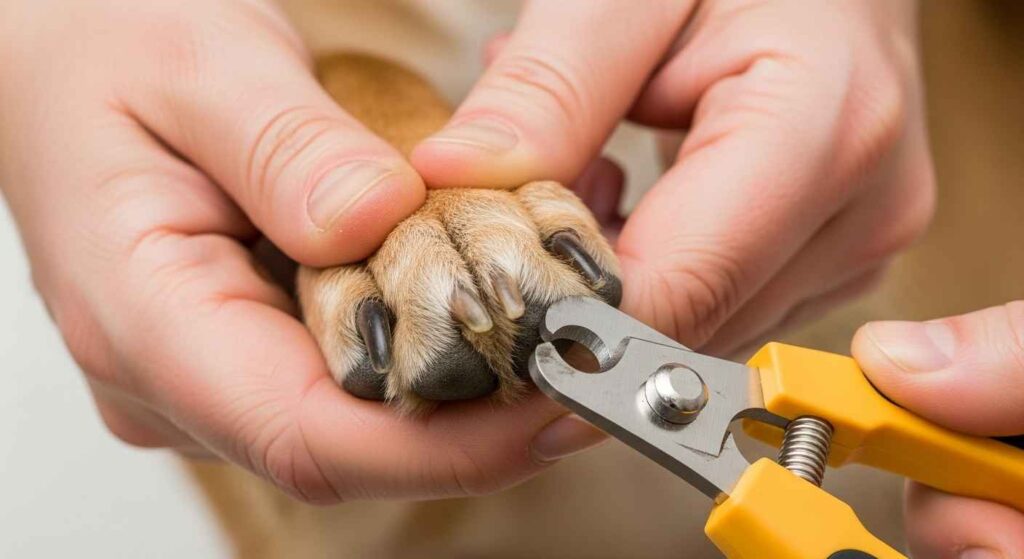
Step 4: Make the Cut
- Position clippers perpendicular to the nail
- Cut at a 45-degree angle
- Trim only the sharp, curved tip
- Stay well away from the pink quick
- Make one quick, confident cut
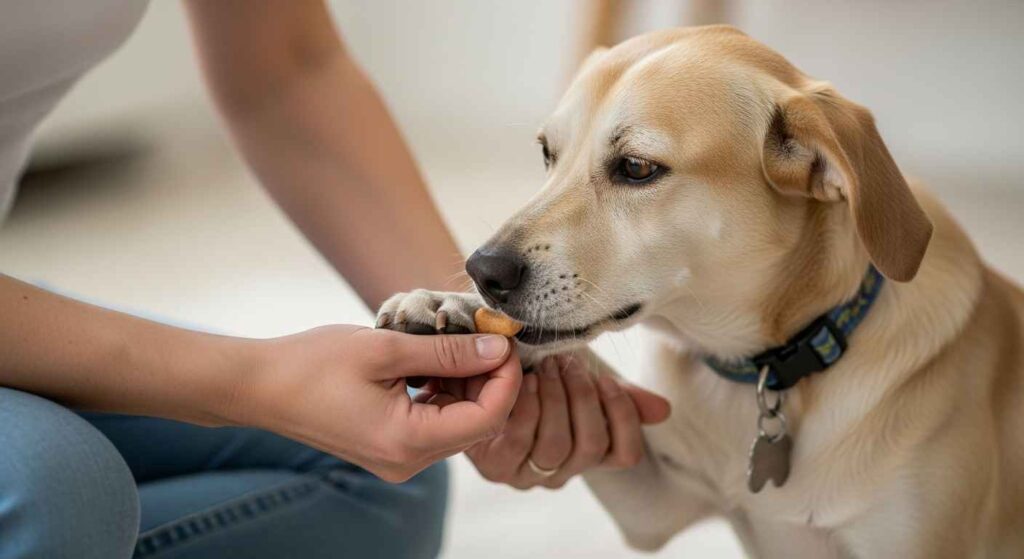
Step 5: Reward Immediately
Give treats and praise after each successful nail. Take breaks if your dog gets anxious.
How Often Should You Cut Dog Nails?
Most dogs need to have their nails trimmed approximately once monthly. However, frequency depends on several factors:
- Active dogs on pavement: Every 6-8 weeks
- Indoor dogs: Every 3-4 weeks
- Senior or inactive dogs: Every 2-3 weeks
Signs your dog needs a nail trim:
- Nails touch the ground when standing
- Clicking sounds when walking on hard floors
- Nails curve toward paw pads
- Your dog favors certain paws when walking
Use our Pet Symptom Checker if you notice any unusual walking patterns or paw sensitivity.
What to Do If You Cut the Quick
Accidents happen, even to experienced groomers. If you cut too much and cause bleeding:
- Stay calm – Your dog will pick up on your stress
- Apply pressure with a clean towel
- Use styptic powder or cornstarch to stop bleeding
- Monitor for infection signs over the next few days
Symptoms include persistent bleeding and paw licking. Treatment involves applying styptic powder or cornstarch to stop bleeding, keeping the area clean, and preventing licking with an Elizabethan collar if needed.
When to Call Your Vet
Contact your veterinarian if you notice:
- Signs of infection, such as a bad smell, redness, or discharge from the injured nail
- Bleeding that won’t stop after 10 minutes
- Excessive limping or pain
- Swelling around the nail bed
Common Dog Nail Trimming Mistakes
Avoid these frequent errors:
Cutting Too Much at Once
Always trim small amounts. It’s better to cut nails more often than risk cutting the quick.
Using Dull Clippers
Sharp tools make clean cuts. Dull clippers can crush or split nails, causing pain.
Skipping Regular Sessions
Dogs that are inactive or do not spend any time on hard surfaces may even need nail trims a bit more frequently, such as every three weeks.
Not Checking All Nails
Don’t forget dewclaws (thumbs) on front paws. Some dogs also have rear dewclaws.
Rushing the Process
Take your time, especially with anxious dogs. Multiple short sessions work better than one stressful marathon.
Alternative Methods for Nail Care
If traditional clippers don’t work for your dog, try these options:
Nail Grinders
Electric grinders file nails gradually, reducing the risk of cutting too much. They work well for thick or black nails where the quick is hard to see.
Scratching Boards
Some dogs will use scratching boards to naturally file their front nails. This supplements but doesn’t replace regular trimming.
Professional Grooming
If your dog won’t tolerate home nail trims, professional groomers have experience with difficult dogs. Regular grooming appointments can include nail care.
For more grooming tips, check out our guide on how to groom your dog at home.
Training Your Dog to Accept Nail Trims
Start training early, especially with puppies. Here’s a gradual approach:
Week 1: Handle Paws
- Touch paws daily during calm moments
- Give treats for allowing paw handling
- Gently press on paw pads
- Reward calm behavior
Week 2: Introduce Tools
- Let your dog see and smell nail clippers
- Touch paws with closed clippers
- Give high-value treats throughout
- Keep sessions short (2-3 minutes)
Week 3: Practice Positioning
- Practice holding paws in trimming position
- Don’t cut yet – just get comfortable with the process
- Continue treating and praising
Week 4: First Trim
- Cut just one nail per session initially
- Choose the easiest nail first
- Stop immediately if your dog gets stressed
- Build up to full paw over time
Signs Your Dog Has Nail Problems
Watch for these warning signs that indicate nail issues:
- Limping or favoring one paw
- Excessive licking or chewing at nails
- Swollen or red nail beds
- Cracked or split nails
- Nails growing in unusual directions
- Bad odor from paws
If you notice any of these signs, use our Pet Symptom Checker to assess the situation and determine if veterinary care is needed.
Special Considerations for Different Dogs
Puppies
Start handling paws early, even before their first nail trim. Puppy nails are sharp and grow quickly, often needing weekly attention.
Senior Dogs
Older dogs may have thicker, harder nails that require more frequent attention. Arthritis can make positioning difficult, so be patient and use comfortable positioning.
Anxious Dogs
Some dogs have severe anxiety about nail trims. Consider:
- Anti-anxiety medications from your vet
- Calming supplements
- Professional behaviorist help
- Gradual desensitization training
Large Breed Dogs
Big dogs need sturdy clippers and may require two people – one to hold and comfort, one to trim. Their nails are often thicker and harder to cut.
DIY vs. Professional Nail Trimming
When to DIY
- Your dog tolerates paw handling well
- You can see the quick in light-colored nails
- You have proper tools and knowledge
- Your dog’s nails are relatively easy to manage
When to Go Professional
- Your dog has severe anxiety about nail trims
- All nails are black and you can’t identify the quick
- Your dog requires restraint that stresses them
- You’ve accidentally cut the quick multiple times
Many pet owners successfully maintain their dog’s nails at home. However, there’s no shame in seeking professional help if needed.
Conclusion
Regular nail trimming is essential for your dog’s health and comfort. Most dogs need to have their nails trimmed approximately once monthly, but the exact frequency depends on your dog’s activity level and lifestyle.
Start slowly, use proper tools, and always prioritize your dog’s comfort over speed. With patience and practice, most dog owners can safely trim their pet’s nails at home. Remember to watch for signs of infection or problems, and don’t hesitate to consult your veterinarian if you’re concerned.
For more pet care guidance, explore our other resources like the Pet Age Calculator to track your dog’s health needs as they age, or check out our common dog owner mistakes guide to avoid other pitfalls in pet care.
Always consult with your veterinarian if you have concerns about your dog’s nail health or if you’re unsure about performing nail trims at home. This guide provides general information and should not replace professional veterinary advice.