Keeping a cat’s nails in check matters for their health. Long nails can lead to discomfort or even injury. This guide walks you through the process with care. It draws from trusted pet care sites to keep things accurate.
Why Trim Your Cat’s Nails?
Cats’ nails grow all the time. Without regular care, they get too long. This can make walking painful. Nails might curl back into the paw pads and cause infections. It also helps stop scratches on furniture or skin. For indoor cats, trims are key since they don’t wear down nails as much as outdoor ones do.
Look for these signs that a trim is due:
- Nails show when the cat rests.
- They snag on carpets or clothes.
- You hear clicking on hard floors.
Aim to trim every two to four weeks. Kittens may need it more often. Older cats might go longer between sessions.
What You’ll Need
Gather these items before you start. It makes the job smoother.
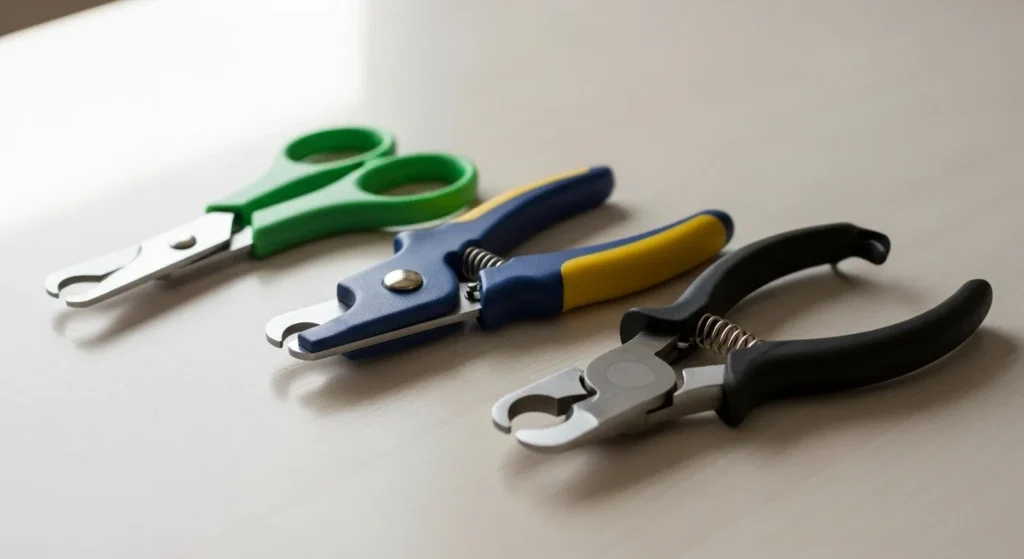
- Clippers made just for cats. Pick scissor, guillotine, or pliers style based on what feels right.
- Styptic powder to stop any bleeding. Flour or cornstarch works in a pinch.
- Treats to reward your cat.
- A towel for wrapping if needed.
- A nail file to smooth edges.
Avoid human clippers. They can split the nail and hurt your cat.
Get Your Cat Ready
Start by building trust. Handle your cat’s paws often during calm moments. Give gentle massages and treats after. This helps them get used to it over time. For tips on general cat handling, see our post on how to train a cat.
Choose a quiet room with good light. Do it when your cat is relaxed, like after eating. Let them sniff the clippers first. If possible, have someone help hold or distract.
For nervous cats, use a calming spray on the area ahead of time. Keep early tries short.
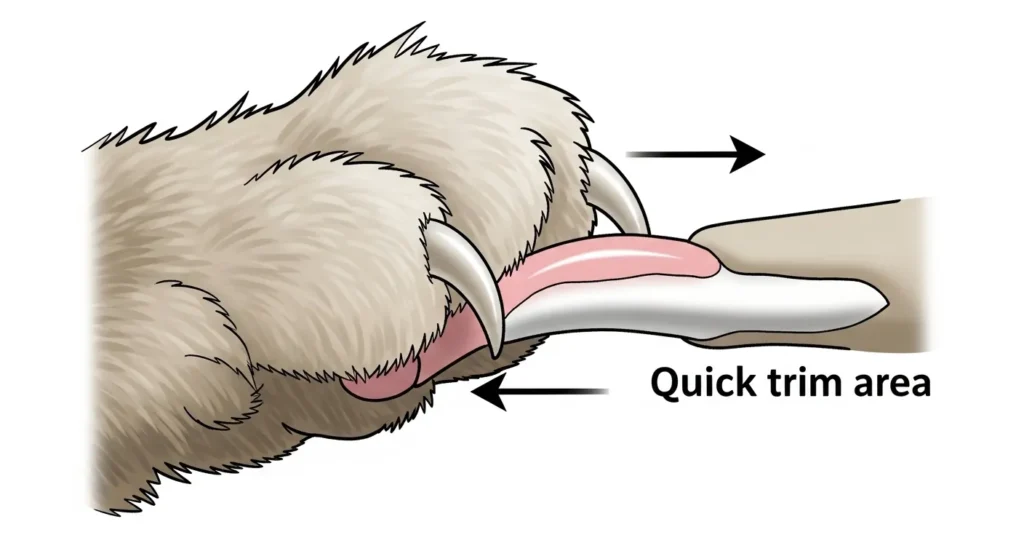
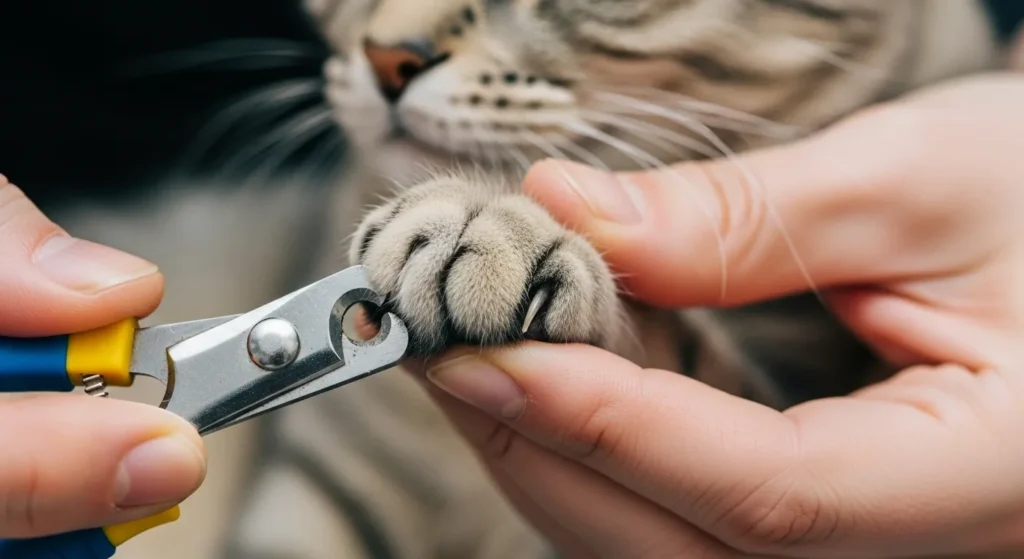
Know the Nail Structure
Cat nails have a quick inside. It’s the pink part with blood and nerves. Cut only the clear tip beyond it. On dark nails, take tiny bits to stay safe.
The Trimming Process
Follow these steps one by one. Go slow.
- Sit with your cat on your lap or a stable spot. Hold them steady but gently.
- Take one paw. Press the pad lightly to push out the nail.
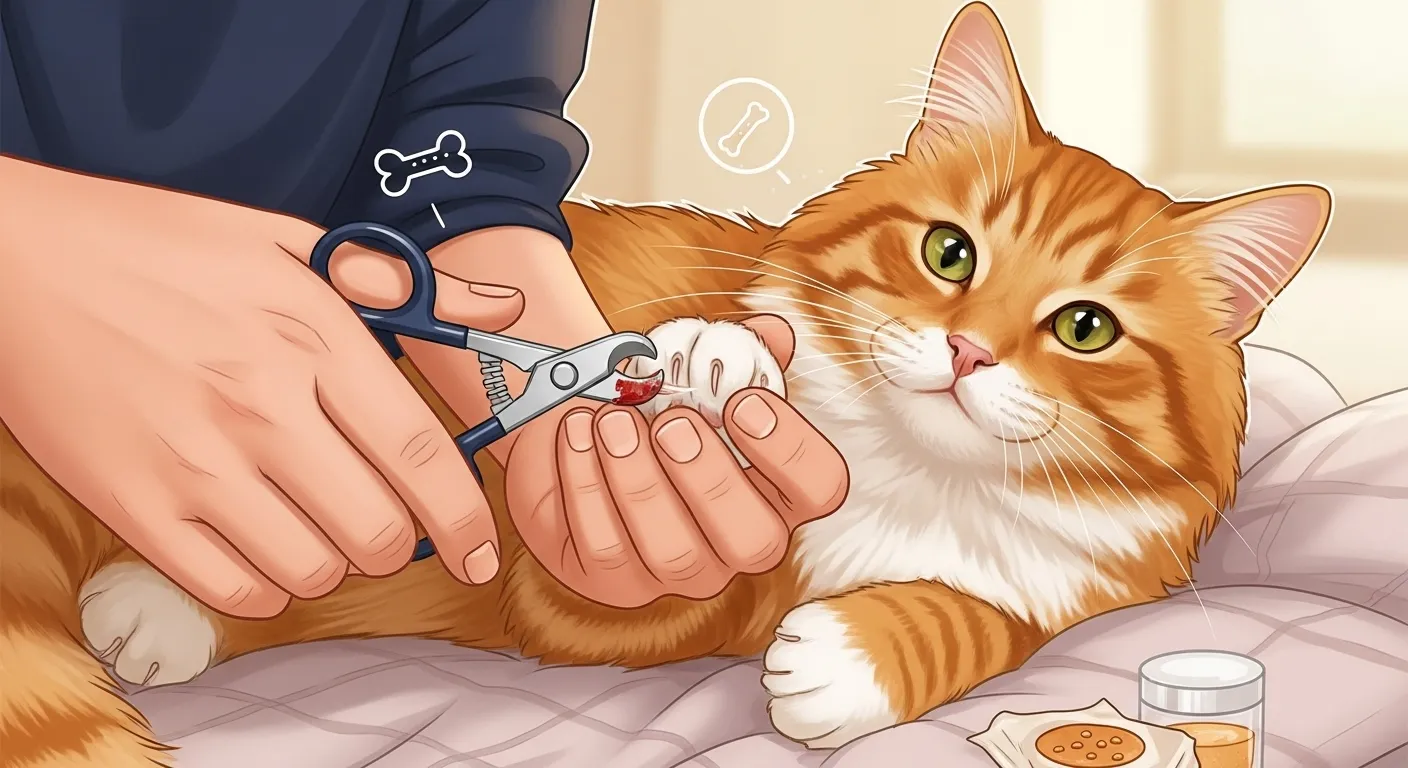
- Spot the quick. Clip just the sharp end at a slight angle. Use firm motion to avoid crushing.
- Do one nail, then give a treat. Pause if your cat pulls away.
- Move to the next. Remember the dewclaws higher on the leg.
- File any rough spots after.
Focus on front paws first. They cause more issues. If it takes days to finish all, that’s fine.
If Your Cat Resists
Wrap them in a towel like a burrito. Leave one paw out at a time. This keeps them still without stress. Don’t force it. Stop and try later. If biting becomes a problem, read our article on why does my cat bite me.

After the Trim
Praise your cat right away. Offer more treats or play time. This builds good feelings about the routine.
If you nick the quick, stay calm. Press styptic powder on the spot. Bleeding stops soon. Watch for any signs of pain later. Use our pet symptom checker if you notice anything odd.
Common Mistakes to Avoid
Don’t cut too close to the quick. It hurts and bleeds. Skip sessions if your cat is upset. Never use caps on claws. They block natural actions and cause issues.
When to Seek Help
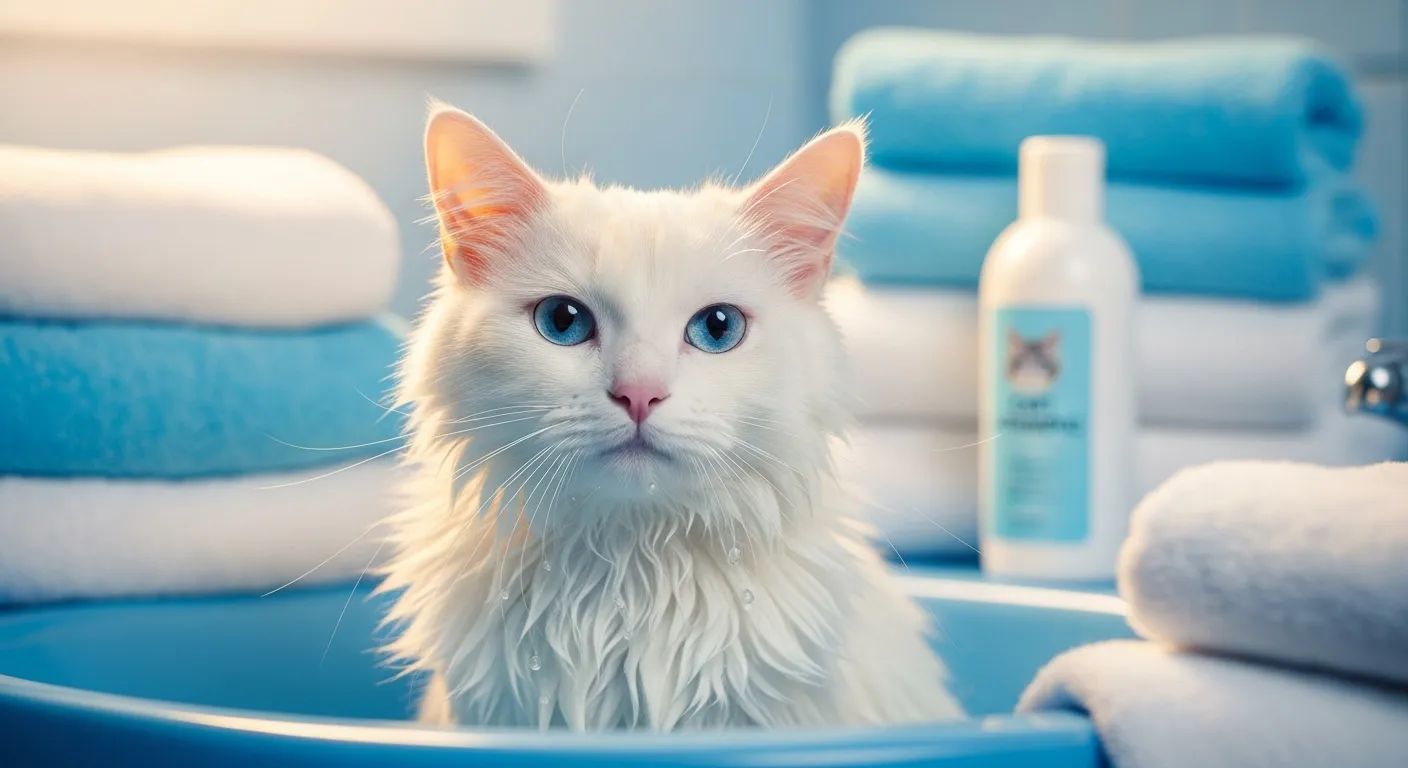
If trimming turns into a fight, see a vet or groomer. They handle tough cases. Go to a pro if nails are already curled or infected. For other grooming needs, check our guide on how to bathe a cat safely.
With practice, nail trims become simple. Your cat stays comfortable, and you avoid problems.